How to Clean Your Walk-In Freezer
For most restaurants or food service businesses, the walk-in freezer is one of the hardest-working members of the team. It helps you keep food prepped, safe and ready for whenever you or your customers need it. Keeping it clean is an essential part of keeping it up and running. Nobody wants revenue loss due to a freezer that’s malfunctioning because of a clogged condenser, right? It’s recommended to give your walk-in a full, deep clean at least once per month while spot-cleaning as needed in the interim.
How to Clean Your Walk-In Freezer: 9 Step Guide
Step 1: Check Your Inventory
The first cleaning you’ll do here is cleaning out any inventory that has gone past its cook-by date.
Do a quick review of expiration dates, making sure nothing is hiding behind anything else and toss anything that has expired. The goal is avoiding overcrowding that leads to things going bad without you realizing.
Step 2: Prepare Your Supplies
Efficiency and efficacy are key when cleaning your walk-in freezer. Starting with the right supplies helps you guarantee the right results. Make sure you have the following:
- Personal Protective Equipment (PPE) — gloves, mask, glasses
- A broom and dustpan
- A vacuum that has a brush attachment
- Cleaning cloths, preferably microfiber
- A mild disinfectant detergent
- Specialty freezer cleaner like Ecolab’s Kool Klene®
- Stiff bristle brush
- Mop and bucket
- Coolers with ice
Step 3: Turn Off The Freezer
Your freezer will need to be completely off in order to be properly cleaned without risk. Since you have to keep the door open while cleaning, this will also save you from unnecessary energy waste.
Step 4: Remove Your Inventory
Everything in your freezer will need to be removed during the cleaning. This is for two reasons: to make sure you get into every corner and to guarantee no cleaners contaminate the food you’ll be serving.
Depending on availability you can either:
- Place everything in alternate freezers you own
- Prepare a series of ice-filled coolers to store food so it doesn’t spoil during cleaning
Step 5: Clean the Floor
First, sweep it out.
The easiest next step is to use a non-freezing specialty cleaner for the floor. You can dump it on the ground, scrub into cracks and crevices with the bristle brush and then use a dry mop on the floor to soak up any excess.
Alternatively, you can use hot water and a mild detergent to scrub the floor, but you will run into the risk of things freezing before you’re done depending on how quickly you’re able to complete the work.
Step 6: Wipe Down the Walls and Shelves
Take the microfiber cloths and mild detergent and wipe down the shelves just like you would in your own freezer or refrigerator. The cleaning technique in this step is straightforward but can be time consuming depending on how large your freezer is.
Just remember: make sure to not leave excess residue behind. Always wipe with a dry towel when you’re done so you don’t freeze anything you don’t want onto the shelves, walls or other surfaces.
Step 7: Clean the Door
If your freezer has a window, use glass cleaner to shine it up. Take your microfiber cloths to wipe down the front and back of the door itself before moving onto the gasket.
The door gasket is important for keeping the cold air in and the warm air out. Use a damp cloth to wipe it down to remove any dirt, debris or mold.
Step 8: Get Everything Back in Order
After cleaning and wiping down all the interior surfaces, you can turn on the freezer and let it run for a few hours. This will help to circulate the air and remove any lingering moisture. After that, you can put everything back where it needs to go.
Step 9: Schedule a Condenser Coil Cleaning
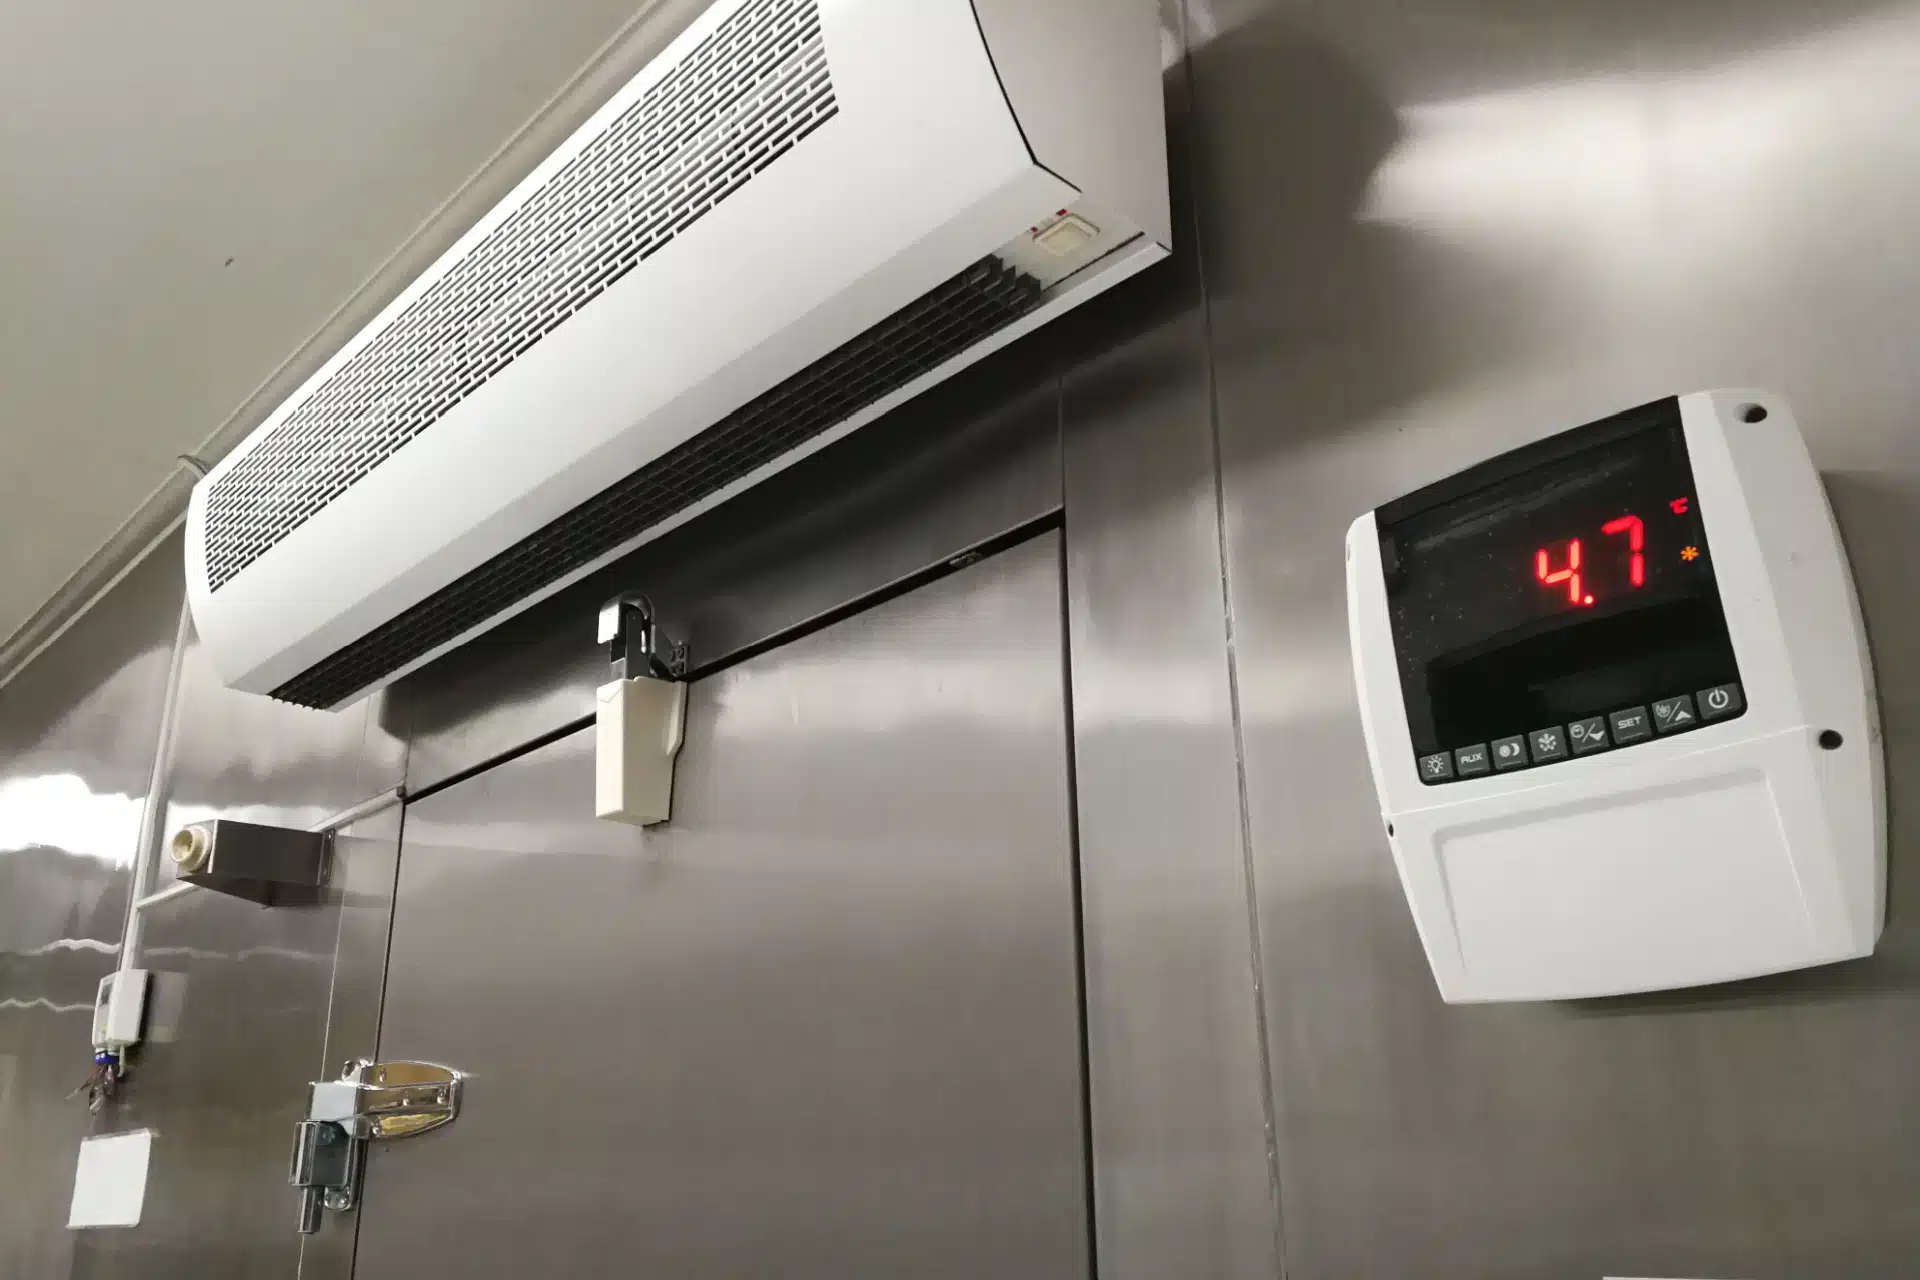
Condenser coils are located on the back of the freezer and help to dissipate heat so your freezer maintains its desired temperature. Over time, these coils become dirty and your freezer may struggle to maintain temperature. A trusted service provider can perform the evaporator coil cleaning and complete a full system check to ensure your freezer is running efficiently.
Feel free to bookmark this if you ever need a reminder on how to clean your walk-in freezer — or if you have a new team member in need of a refresher.
Keep Your Walk-In Running with Professional Maintenance and Repairs
Sometimes, simply keeping your walk-in clean isn’t enough and you need may need professional assistance. Whether it’s regular maintenance or an emergency repair, we have Smart Care service technicians available to support you and your business nationwide. Find one close to you today!